Skip to content
 How to Choose and Install the Right Rivnut for Your Industrial Project?
Are you trying to attach components to thin sheet metal, only to find the material is too thin to tap for a strong thread? Welding a nut on the back is slow, expensive, and can damage the finish.
A Rivnut, a type of blind threaded insert, is the solution. It is a one-piece fastener that, when installed from one side, creates a strong, permanent thread in thin materials, tubular sections, or any application where you cannot access the backside.
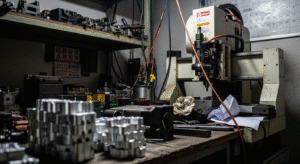
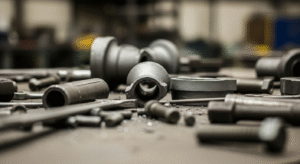
 I’ve seen entire product assembly lines grind to a halt because of fastening challenges. In my early days as a buyer, I learned that the smallest components can cause the biggest headaches. The Rivnut (a brand name that has become a generic term, like Kleenex) is one of those elegant solutions that solves a major engineering problem. At Prime Metals, we supply a huge range of fasteners and screws, and knowing how to use them correctly is just as important as choosing the right one.
What exactly is a Rivnut and how does it work?
Are you looking at a Rivnut and wondering how that small metal tube transforms into a rock-solid anchor point? Understanding the simple mechanics of how it installs is key to trusting its strength and reliability.
A Rivnut works by collapsing a deformable shank on the "blind" side of the parent material. An installation tool pulls on the internal threads, causing the shank to bulge and clamp itself tightly against the back of the material, creating a secure threaded insert.
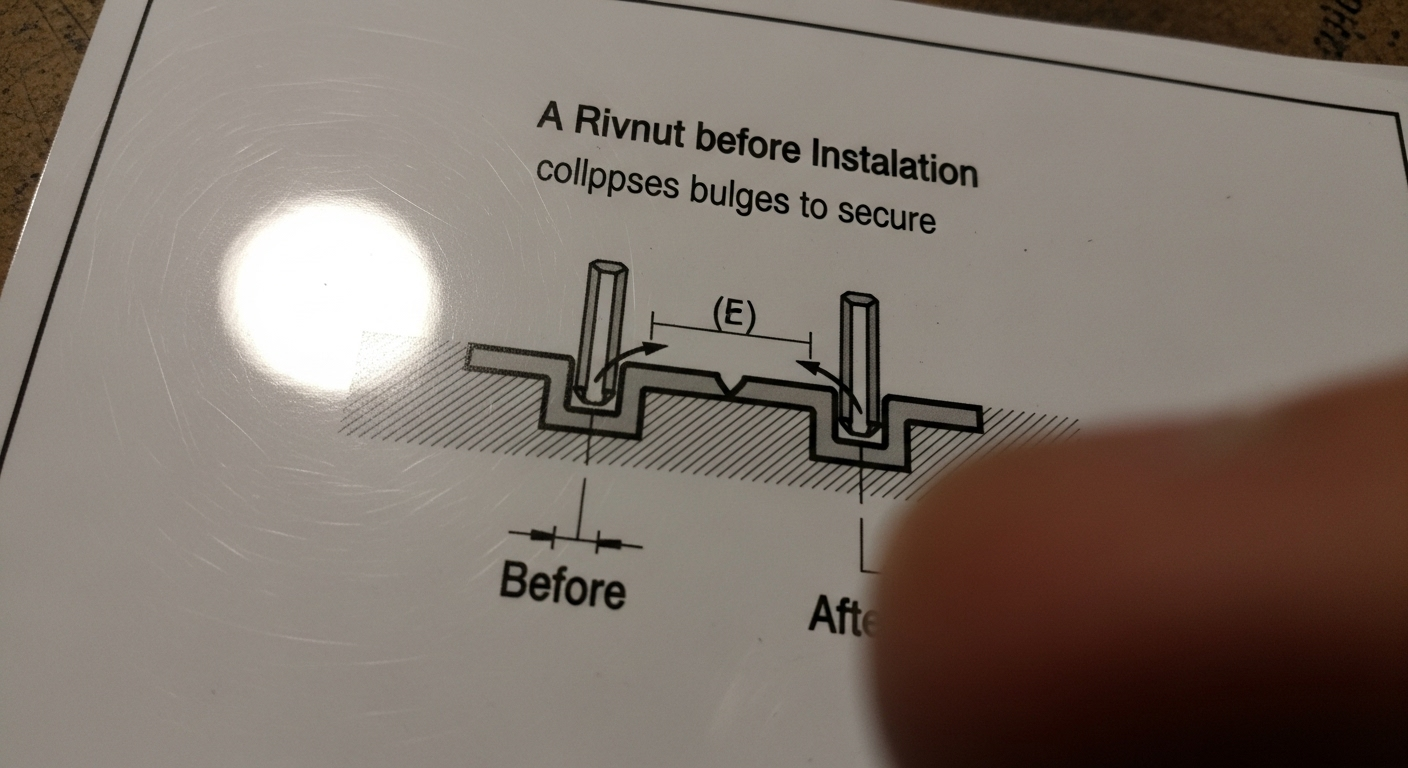
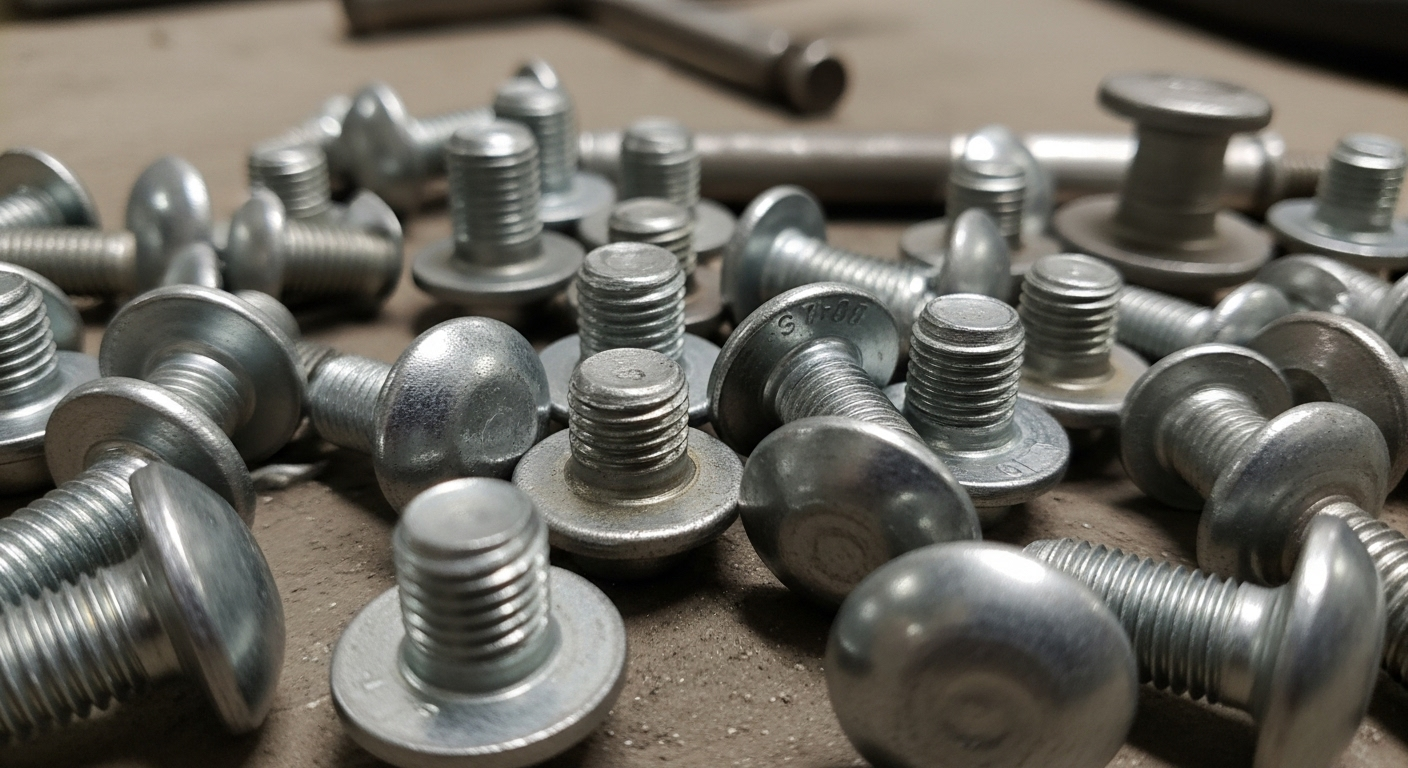
The Anatomy of a Rivnut
A Rivnut consists of three main parts. First is the flange or head, which sits on the top surface of your material. Second is the deformable shank, which is the unthreaded, collapsible portion. Inside this is the third part, the internally threaded barrel, which accepts the screw or bolt and is also where the installation tool engages.
The Installation Principle: Controlled Collapse
The real magic happens during installation. A special tool with a threaded mandrel is screwed into the Rivnut. As you pull the tool's trigger or handles, it pulls the mandrel back. This action forces the deformable shank to collapse and "upset" into a strong bulge on the backside of your workpiece, much like a pop rivet. Once the bulge is fully formed, the tool's mandrel is unscrewed, leaving you with a perfectly installed, permanent thread.
The "Blind" Advantage
The term "blind" is critical. It means you can install the Rivnut entirely from one side of the workpiece. This is a game-changer for tubular frames, sealed enclosures, or any large panel where reaching the back is impossible. It's a faster, cleaner, and often stronger alternative to traditional fastening methods in these scenarios.
How do I select the right Rivnut material and body style?
Choosing a Rivnut based on thread size alone is a recipe for failure. Using an aluminum Rivnut in a steel application can lead to galvanic corrosion, while a round body might spin out in a high-torque situation.
Select the Rivnut material based on the parent material and required strength (steel, stainless, aluminum). Then, choose a body style (knurled, hex) that provides the necessary spin-out resistance for your application's torque requirements.

Material Selection
The choice of material impacts strength, corrosion resistance, and cost. It's also important to try and match the Rivnut material to your host material to prevent galvanic corrosion, a phenomenon explained well by sources like Wikipedia.
| Material | Strength | Corrosion Resistance | Cost | Best Use |
|---|---|---|---|---|
| Steel | High | Fair (Plated) | Low | General purpose, high-strength applications. |
| Stainless Steel | Very High | Excellent | High | Food-grade, marine, or corrosive environments. |
| Aluminum | Low | Good | Low | Lightweight applications, outdoor use, electronics. |
Head Style: Flat vs. Countersunk
The head, or flange, determines how the Rivnut sits on your material. A flat head is the most common and provides a solid clamping surface. A countersunk or flush head is used when you need the fastener to sit completely flush with the material's surface, requiring a pre-drilled countersink in the hole.
Body Style: Resisting Spin-Out
This is critical for applications where the final bolt will be torqued down tightly. A standard round body is fine for light-duty use. For better performance, a knurled or ribbed body bites into the parent material to provide much better resistance to spinning. For the ultimate spin-out prevention, a hexagonal body fits into a matching hex-shaped hole, physically locking it in place.
What is "grip range" and why is it the most critical specification?
Have you ever installed a Rivnut only to find it spinning loosely, or the tool just keeps turning without setting it? The problem is almost always a mismatch between the Rivnut's grip range and your material thickness.
"Grip range" is the specific range of material thickness, from minimum to maximum, that a single Rivnut is designed to be installed in. Using a Rivnut outside of its specified grip range will result in a failed or weak installation.
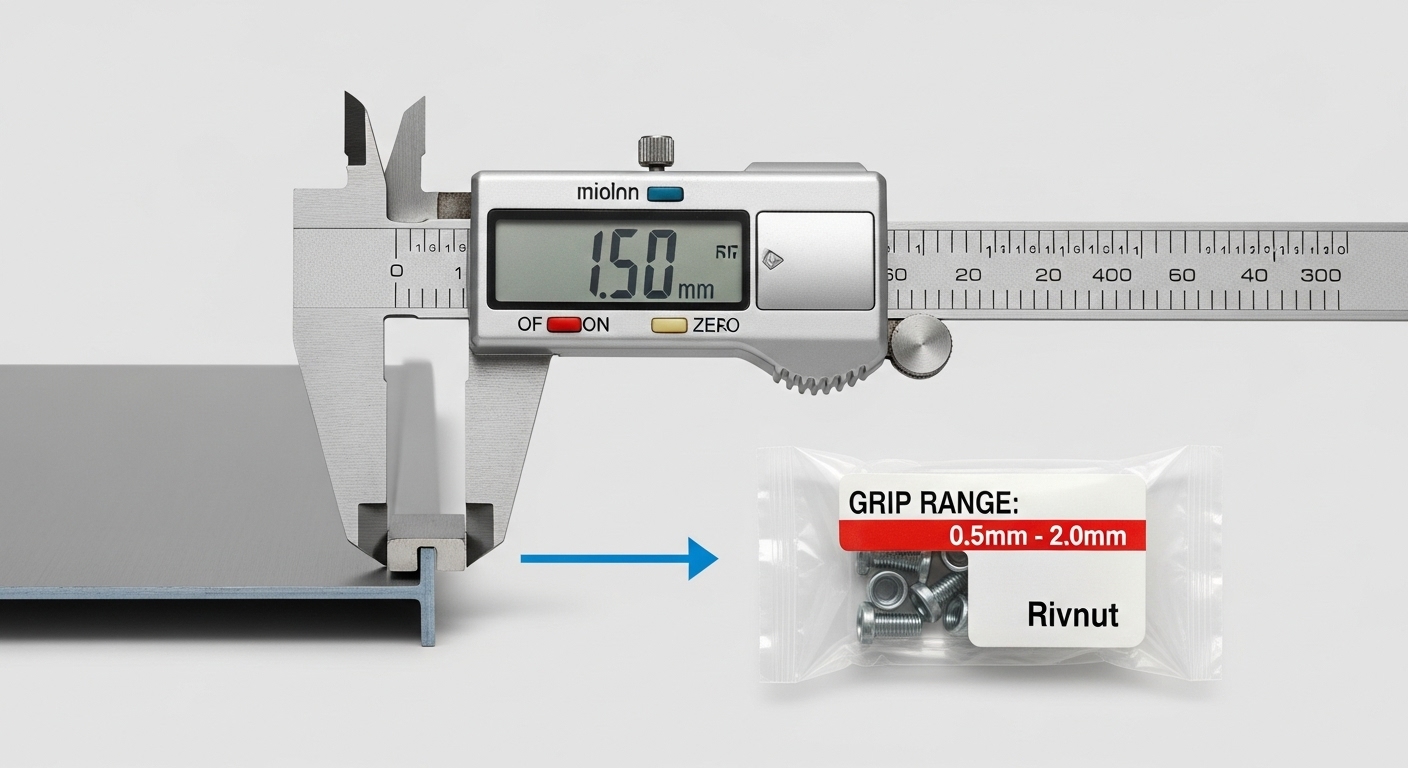
Defining and Measuring Grip Range
Before you even drill a hole, the first step is to accurately measure the thickness of the sheet or panel you're working with using a set of calipers. Every Rivnut has a grip range specified by the manufacturer, for example, 1.0mm - 3.0mm. Your measured material thickness must fall within this range.
What Happens with the Wrong Grip Range?
If your material is thinner than the minimum grip range, there isn't enough material for the Rivnut's bulge to clamp against. The shank will collapse in open air, resulting in a loose, wobbly insert. If your material is thicker than the maximum grip range, the deformable shank won't have enough clearance on the backside to form its bulge, and the installation will fail.
How We Ensure Cpk on the Factory Floor
In a high-volume industrial setting, this isn't left to chance. As part of our ISO 9001 certified process, when a customer specifies a Rivnut for an assembly like a custom CNC machined enclosure, we verify the material thickness and the Rivnut grip range during our PPAP (Production Part Approval Process). We ensure that the process capability (Cpk) is high, so every single installation is perfect.
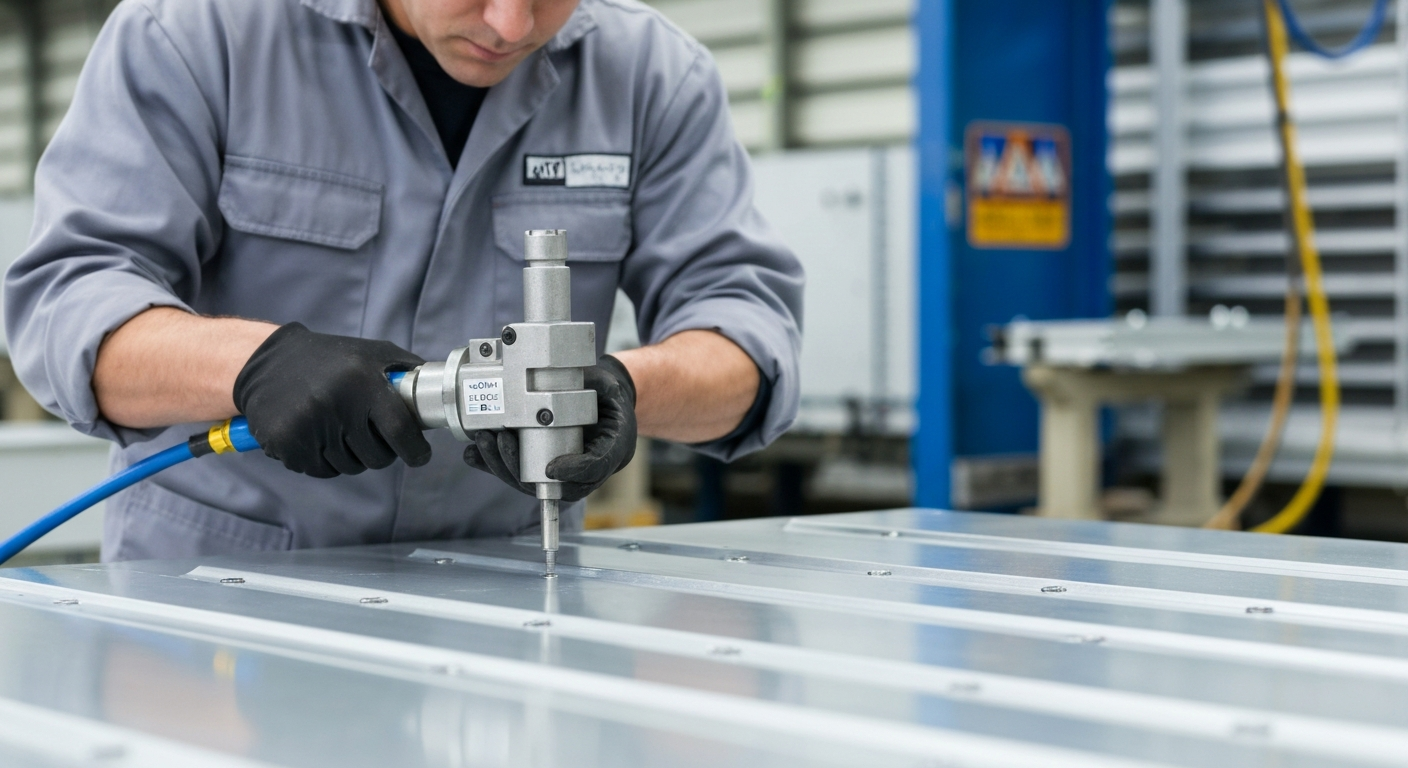
What tools are required for a professional Rivnut installation?
Trying to set a Rivnut with a simple bolt and nut is a frustrating and unreliable method that often leads to stripped threads and damaged parts. For a secure and repeatable installation, you must use a dedicated tool.
Professional Rivnut installation requires a specialized tool that pulls the threaded mandrel to set the insert. These tools range from manual hand tools for small jobs to pneumatic tools for high-volume production lines.
Manual Hand Tools
For field repairs, prototyping, or very low-volume work, a manual hand tool is perfect. There are two main types: plier-style tools, which are compact and great for smaller thread sizes, and lever-style tools, which have longer handles that provide more leverage for installing larger, stronger steel Rivnuts.
Pneumatic (Air-Powered) Tools
This is the workhorse of any serious assembly line. Pneumatic Rivnut tools connect to a standard air compressor and install a Rivnut in seconds with the pull of a trigger. They offer incredible speed and consistency. The tool is set to a specific pull pressure to ensure every Rivnut is collapsed perfectly, without over-torquing or under-setting.
Spin-Pull vs. Stroke-Based Tools
For advanced applications, there are different types of pneumatic tools. "Stroke-based" tools pull for a set distance, which is good for consistent material. "Spin-pull" tools are more advanced; they pull until they sense a specific force, automatically compensating for slight variations in material thickness to deliver a perfect installation every time. Investing in the right tool pays for itself in reliability.
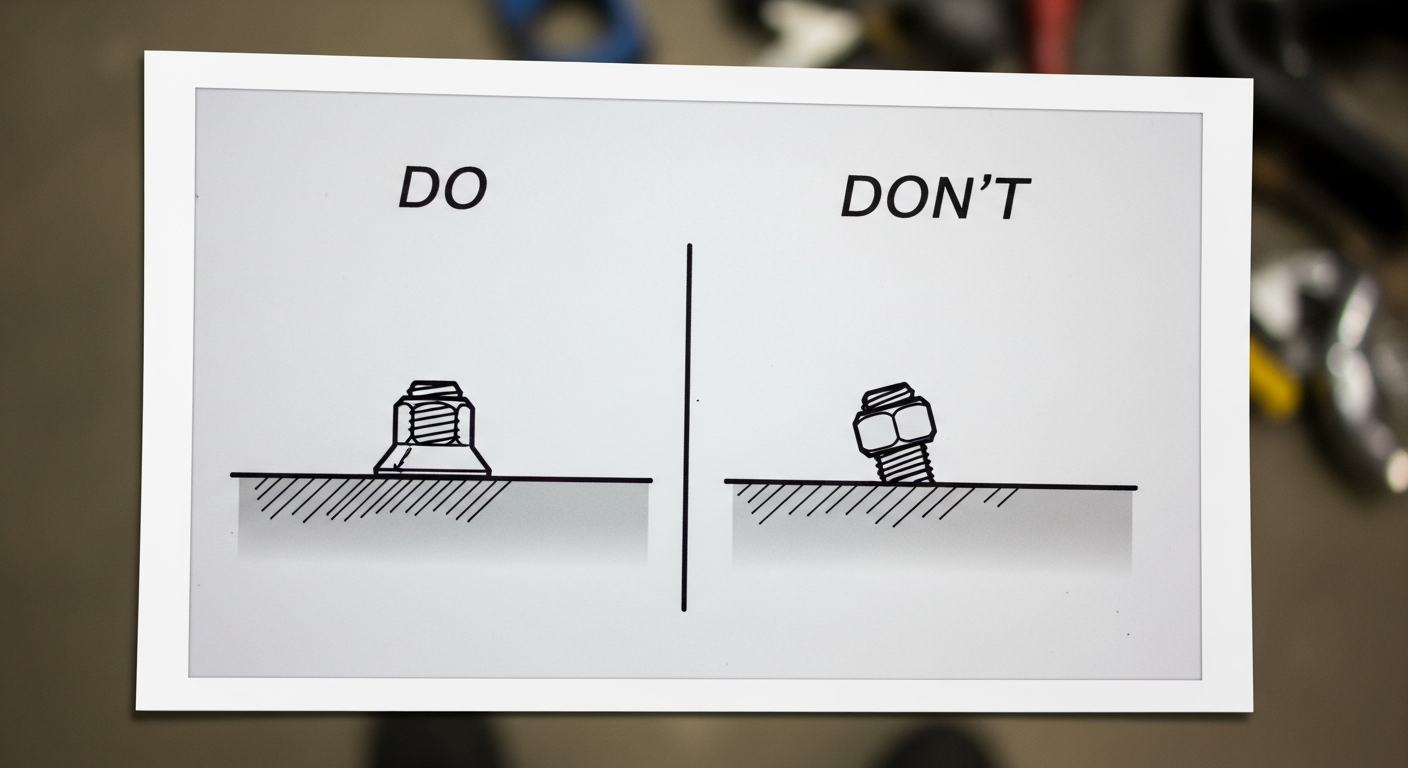
What are the common mistakes to avoid during installation?
You've selected the right Rivnut and you have the right tool, but your installations are still failing. Small, easily overlooked errors in the installation process are often the culprit.
The most common installation mistakes are drilling an incorrect hole size, not holding the tool perpendicular to the work surface, and failing to ensure the Rivnut's flange is seated flush before starting the collapse.
Incorrect Hole Size
This is mistake number one. The manufacturer's data sheet will specify the exact hole size required, often with a tight tolerance (e.g., 7.0mm +0.1/-0.0). A hole that is too small means the Rivnut won't fit. A hole that is too large will allow the Rivnut to spin during installation or when you insert the final bolt. Always use a sharp, correct-sized drill bit. Adhering to hole size tolerances, like those in ISO 2768, is non-negotiable.
Poor Tool Technique
The installation tool must be held firmly and perfectly perpendicular (90°) to the work surface. Installing at an angle will cause the Rivnut's flange to seat improperly and can create a weak, angled thread that will be difficult to use. Also, ensure the Rivnut's flange is fully seated and flush against the material before you begin the pulling action.
Over-Setting or Under-Setting
Every tool has an adjustment for the pulling action. If you under-set the Rivnut, the bulge on the back will be too small and the insert will be loose. If you over-set it (apply too much force or pull), you risk stripping the internal threads, breaking the tool's mandrel, or damaging the parent material. Practice on a few scrap pieces to calibrate your tool and technique.
About the Author
My name is Kevin. I started my career in the US, sourcing components and learning the hard way that a product is only as strong as its weakest fastener. Since founding Prime Metals in 1993, I’ve focused on providing not just parts, but solutions. Our ISO 9001 certified process means we sweat the details on everything from custom castings to the simplest nut and bolt, ensuring what we ship is right, every time.
Frequently Asked Questions (FAQs)
What is the difference between a Rivnut® and a Nutsert®?
Functionally, they are the same. Both are brand names for a blind threaded insert. Rivnut® is a trademark of B.F. Goodrich, and Nutsert® is a trademark of Avdel. The term "rivet nut" is the generic name for the product.
Can Rivnuts be removed once installed?
Yes. They can be carefully drilled out using a drill bit slightly larger than the body of the Rivnut. This will destroy the Rivnut, allowing you to remove it and replace it with a new one in the same hole.
How much weight or force can a Rivnut hold?
This varies greatly depending on the Rivnut's size, material, the parent material it's installed in, and the thickness of that material. Manufacturers provide technical data sheets with detailed performance metrics like pull-out strength and torque-out values.
Are Rivnuts waterproof?
Standard Rivnuts are not waterproof and will allow moisture to pass through. However, sealed-end or "closed-end" Rivnuts are available, which have a sealed bottom to prevent liquids and contaminants from passing through the insert.
The Right Fastener for a Professional Finish
Choosing and installing the right Rivnut is a skill that separates amateur work from professional, industrial-grade assembly. By paying close attention to material, grip range, hole size, and tooling, you can create strong, reliable threads in places you never thought possible.
Need help sourcing the right fasteners for your next big project? Let our team of experts guide you.